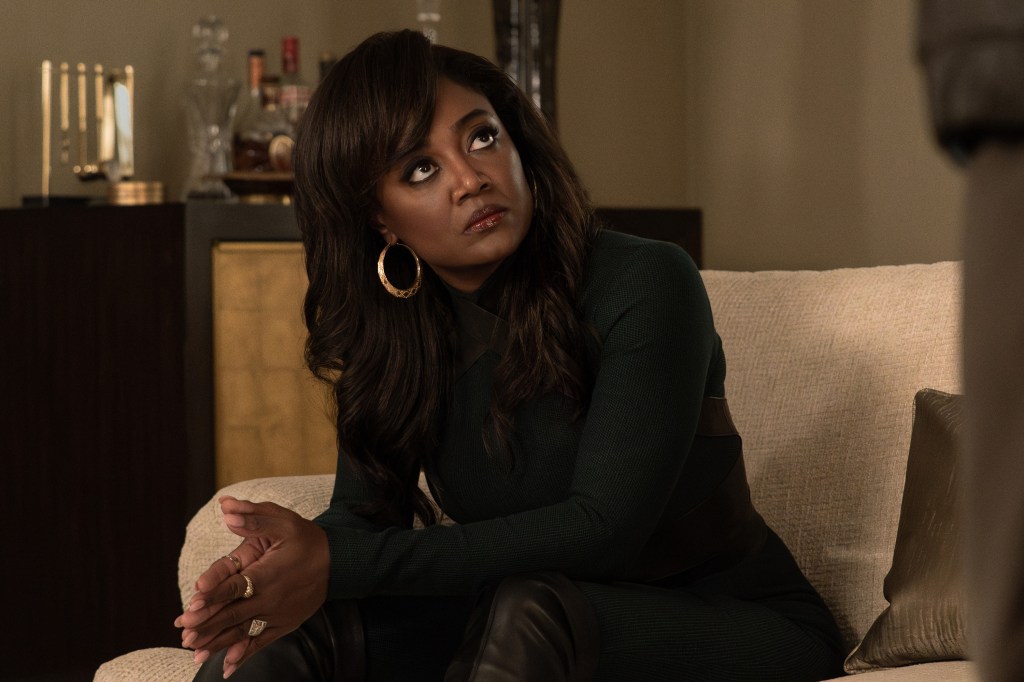


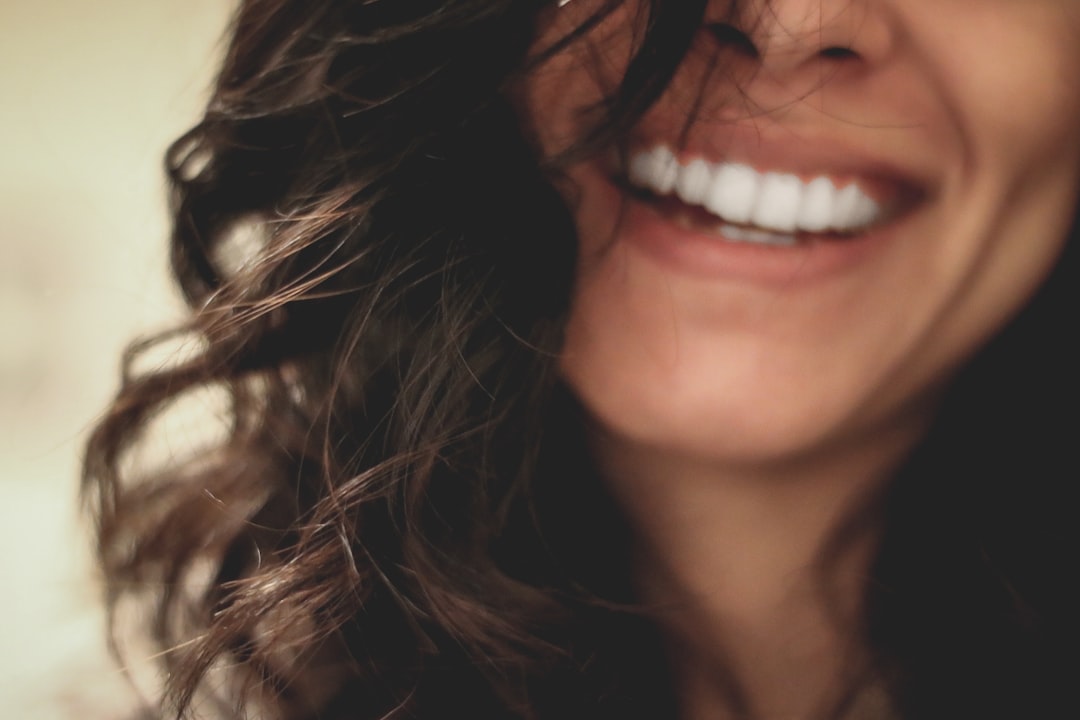
Espresso hair color is a neutral, dimensional brunette defined by deep black-and-dark-brown tones and a reflective, high-shine finish rather than a flat one-color dye. Hair.com by L’Oréal frames the look as richness with gloss, which is why it tends to read “expensive” under everyday lighting.
The misconception is that “espresso” is just a dark brown shade name. In practice, the final result comes from how tone (warm vs. cool), highlight placement, and gloss level are balanced—small shifts can make the color look dimensional and luminous or flat and smoky. Allure also groups espresso-style results within the broader “expensive brunette” trend for movement and reflectiveness.
By the end, readers can identify which espresso undertone suits their skin’s lighting response, map highlight strategies (single-process vs. balayage/babylights) to the depth effect, and spot the mistakes that lead to brassiness or dullness. The payoff is a clearer set of shade-and-application criteria to bring to a salon consult.
Espresso hair color: what it is and why it rarely looks flat
Espresso looks “espresso” because it has black-and-dark-brown depth plus a visibly reflective finish, so light creates movement instead of a flat surface. Hair.com by L’Oréal frames the effect as dimensional brunette richness with a glossy look, not one-tone darkness. In practice, the shade reads as “coffee-like” when it stays neutral rather than turning gray, and when it catches highlights at the ends and mid-lengths under everyday indoor lighting.
The dimensional brunette profile: neutral depth + high-shine finish
Espresso hair color looks “espresso” instead of simply dark brown when it combines neutral depth with a glossy, reflective finish. Visually, that means there’s enough black-and-dark-brown dimension to prevent a flat curtain effect, while light bounces off the surface rather than sitting dull on top of one tone. Hair.com (By L’Oréal) frames this as dimensional brunette depth with a high-shine look, not a one-note dye.
That shine has a practical definition: it comes from how the color is built and how the hair is finished. Allure connects the wider “dimensional brunette/expensive brunette” trend to richness and reflectiveness, which is why results tend to show movement when hair shifts rather than a uniform shade that stays the same in every photo.
In day-to-day terms, the “espresso” look reads most clearly when highlights catch at mid-lengths and the ends instead of staying locked to a single level everywhere.
To replicate the profile at home or communicate it at a salon, the measurable check is surface reflectance: under strong light (bathroom vanity bulbs or daylight by a window), the hair should show a smooth sheen within 2 to 3 seconds of turning the head, with visible depth layering rather than chalky contrast.
If it looks flat even after styling, the finish is often the culprit; asking for a gloss/toner level that targets shine (not only deposit) usually changes the read more than adding extra darkness.
How undertone (warm vs cool) changes the way “espresso” reads in different lighting
- Check the undertone by daylight: warm espresso reads as reddish-brown in sun, while cool espresso pulls more ashy/near-neutral; a quick test is to compare strands in a north-facing window vs warm hallway light.
- Warm espresso performs well under tungsten bulbs (living rooms, lamps) because the light amplifies golden-red reflectivity; cool espresso can look slightly gray there, so expect less “cozy” warmth and more restraint.
- Cool espresso tends to reflect better in overcast skies because diffuse light reduces warm pigments; that same softness can flatten overly warm highlights, making the depth look uniform.
- Ask for an espresso gloss with the right base: a warmer formula keeps the brown lively after washing, while a cooler toner helps prevent brassy drift when the hair lifts toward caramel tones.
What actually creates the espresso effect: tone, placement, and shine
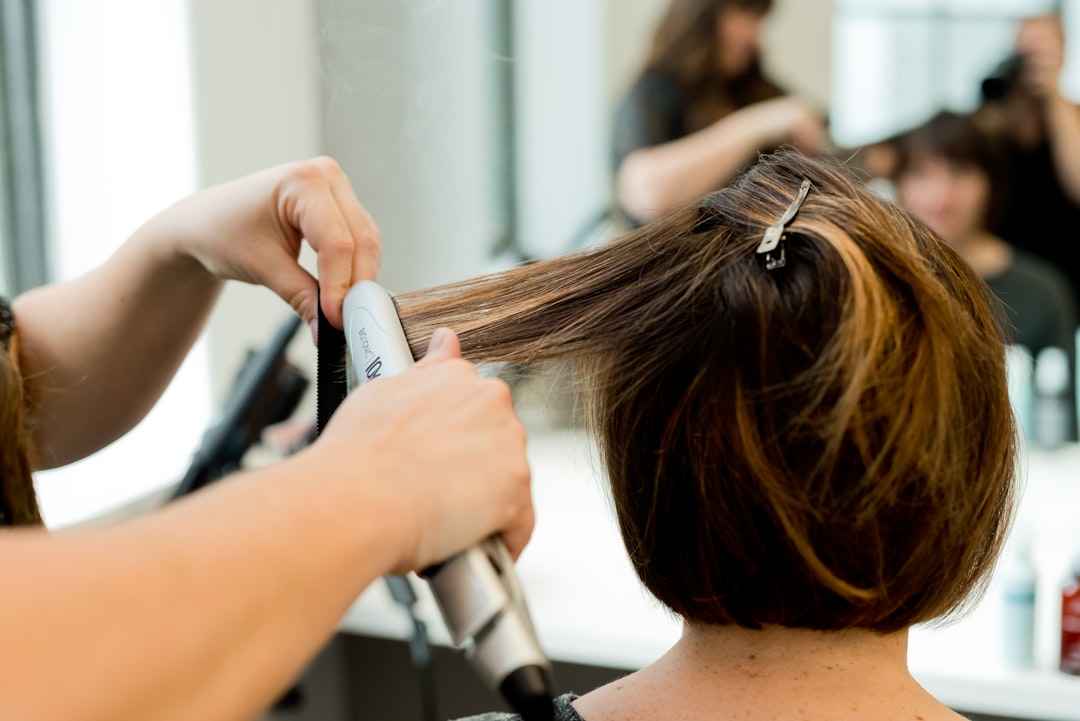
A dimensional, glossy espresso effect is produced by combining a deep base with targeted lift and controlled surface reflectivity: think dark brown saturation at the root, then strategically placed highlights (balayage or babylights) that stay near the mid-lengths rather than overtaking the ends. Color processes matter too—single-process can look flatter unless paired with careful tone placement, while toners and glosses after lift lock in the shine and prevent the surface from reading dull or chalky.
Single-process vs balayage/babylights: how depth stays while highlights move
A dimensional espresso result comes from choosing processes that either keep the base dark and neutral while lifting only “slices” for shine, or that add brightness strategically around the face without raising the entire head. In practice, single-process works best when the stylist targets a true neutral depth and then controls brightness during the tone/finish, while balayage or babylights are built to move light through placement rather than changing the whole base. (Hair.com by L’Oréal)
With balayage and babylights, the “espresso effect” holds when lift is restrained and concentrated at the mid-lengths and ends, then softly feathered upward so the root doesn’t turn blotchy or gray. Allure frames this family as about richness and reflectiveness—not a flat, one-color outcome—so the placement needs followable contrast: face-framing light for dimension, plus darker lengths for depth. (Allure)
A measurable decision point is the contrast budget: if the highlights are lifted enough to sit more than 2 levels lighter than the root, the look often reads “blended caramel highlights” instead of espresso brightness. For warmer results, a gloss applied over the lifted areas (not just the base) helps lock shine and prevents brassiness; for cooler results, the same gloss should skew neutral to avoid a red-leaning brown. (Hair.com by L’Oréal)
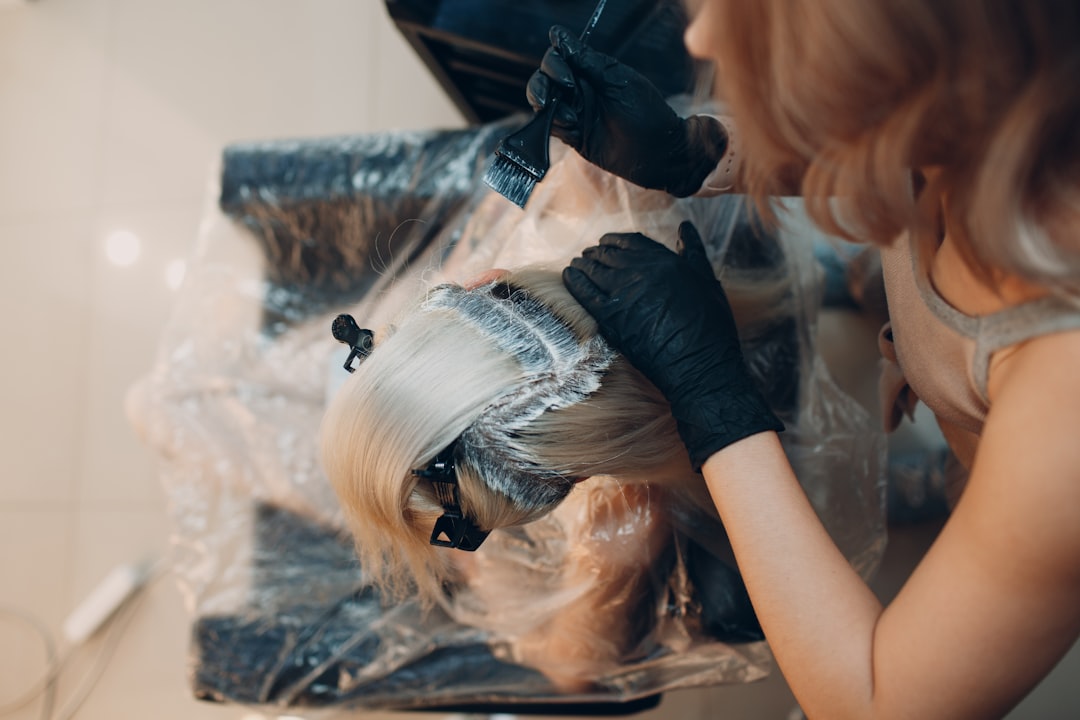
Glosses, toners, and glaze-level shine: what to ask for after the color is set
The dimensional espresso look is usually locked in after color is set by adding controlled shine layers: a toner to smooth level and remove unwanted warmth, then a gloss or glaze that reflects light and can soften fade. Hair.com by L’Oréal frames espresso as a neutral, dimensional brunette with a high-shine finish, which is the point of this “after” step—shaping reflectiveness, not just darkness.
Glosses and toners work best when the stylist chooses them based on the starting level and the target undertone, then times them to the hair’s porosity. A common mechanical sequence is: tone first (to balance where the base pulled warm or went uneven), rinse, then apply a gloss/glaze with development time kept within the product’s stated window—often around 10 to 15 minutes—so the surface looks uniformly luminous instead of patchy.
Placement of the “shine layer” matters as much as the formula. For espresso that still shows movement, glossing lightly over the highlighted zones boosts contrast, while leaving the darkest base area a touch richer prevents the highlights from looking flat; that’s the same family goal as Allure’s “expensive brunette” angle—movement and reflectiveness rather than a flat dye job (Allure).
25 espresso hair color ideas mapped to hair colors and highlight goals
For level 3–5 starts (dark brown), “espresso” works best as a base with minimal lift: go single-process with a neutral-to-warm undertone for uniform depth, or choose balayage/babylights in caramel-chocolate tones to target more movement around the face. For no-highlight options, request a deep rinse plus gloss to keep it rich in indoor light; for highlights, aim for dark-root blending so the shine reads multidimensional, not striped.
Mapping focuses on espresso variations that work from common dark-brown starting levels (3–5), pairing each with the specific highlight or no-highlight goal that drives the visual result.
| Starting point (levels 3–5) | Espresso variation (with/without highlights) | Highlight/processing goal | Target outcome (what it should look like) |
|---|---|---|---|
| Level 3 dark brown, natural or dyed | Espresso + lowlights (no-blonde, minimal lift) | Add depth with darker espresso tones | Richer brunette base without brassy sparkle |
| Level 4 dark brown, slight warmth already present | Warm espresso + caramel micro-babylights | Place fine highlights for lift + blend | Warm glow that stays “espresso” at the root |
| Level 5 medium-dark brown, wants more contrast | Neutral-cool espresso balayage + ash-toned gloss | Use selective lift then cool neutralization | Brighter dimension while keeping overall depth |
| Level 4–5, previously highlighted pieces | Espresso glaze refresh (no new highlights) | Toner-level correction only | Restore reflectiveness and reduce muddy or orange cast |
When the shade turns off: mistakes that make espresso look muddy or brassy
If the stylist skips an undertone check, skips strand testing, or doesn’t plan lift and tone together, espresso can go dull, flat, or pull too warm. A good response is to ask what base level the hair is starting from, what toner shades will offset warmth, and to request a small test section before full processing—then rebook for a corrective gloss if the results read brassy after drying.
Undertone mismatch: choosing warm espresso on skin that reads cool (and vice versa)
The biggest red flag is an undertone mismatch: a warm espresso base (golden/chestnut) on skin that reads cool (pink/rosy) tends to look dull or overtly brassy, while a cooler, ash-leaning espresso on warm skin can flatten into a gray-brown. Hair.com by L’Oréal frames espresso as a neutral, dimensional brunette that can be adjusted warmer or cooler, which is exactly why the salon should validate undertone before depositing pigment.
A second process failure is testing only under salon lighting and skipping a practical “color read” step. The correct response is to ask the stylist to compare samples or swatches in daylight-equivalent light and then check the result on the hair at the root-to-mid transition, where espresso depth is most noticeable. When the mismatch shows up, the fix usually isn’t “darker,” but targeted tone correction (toner or gloss) paired with a controlled shine layer.
Warning: If the color shifts noticeably within the first 2–3 wash cycles—especially toward copper, orange-brown, or ashy gray—the reader should stop “chasing it” with more permanent dye and request a corrective consultation, because repeated deposit can lock in the wrong undertone. Allure’s coverage of the broader dimensional brunette family reinforces that the goal is reflective richness, not a one-note brown that changes personality as it fades (Allure).
Placement and lift errors: why highlights can flatten depth instead of enhancing it
- Disconnect box-dye lift schedules by requesting a test strand for the planned lift level; completion signal is matching the target level within 1 step on a salon level chart under daylight simulation.
- Compare highlight placement with the client’s natural part line and hair density; flattening red flag is uniform brightness across crown without darker “shadow” at mid-lengths after toner.
- Isolate the lift from the gloss by asking the stylist to tone only after the strand has reached the chosen lift; observable criterion is no orange warmth at roots in white-towel blot tests.
- Validate sectioning by confirming at least three vertical slices per side before processing; flat depth red flag is uneven saturation where one side appears lighter/ashier than the other after rinse and dry.
Choosing the right espresso version this year: a decision guide by target look
A reader should choose the depth-and-base first—single-tone espresso for a seamless, elegant brown; caramel or chocolate highlights to create warmth and movement without losing the dark foundation; and high-contrast highlights (especially for deeper brunettes) when the goal is visibly sculpted dimension. The right pick also depends on undertone flexibility from the start and on how much maintenance is realistic between salon gloss refreshes.
For example, a satin finish pairs better with softer caramel ribbons, while a glossier finish makes contrast highlights look more polished.
Pick the finish first (glossy vs satin) and then select the highlight intensity
A escolha começa pelo acabamento: brilho alto (glossy) para maximizar “espresso” em luz de ambiente e brilho moderado (satin) para reduzir aparência de contraste excessivo. Depois disso, a intensidade dos highlights deve seguir a base: single-tone para preservar profundidade uniforme; caramel/chocolate em quantidades controladas para criar movimento sem tirar a leitura escura.
Para decidir entre contraste e movimento, pense em quanto a cor vai “subir” visualmente nas áreas iluminadas. Em brunettes mais profundas, contrastes muito claros costumam criar um efeito recortado; a alternativa é trabalhar com lift menor e highlights concentrados em mid-lengths, deixando a raiz mais escura e contínua. Hair.com by L’Oréal aponta que a terminologia pode variar (espresso, expensive brunette, dimensional cocoa), mas o objetivo visual permanece: riqueza e reflectividade, com acabamento que não pareça plano (Hair.com by L’Oréal).
Tip: Para calibrar a intensidade antes do compromisso, peça um teste de mecha e defina uma condição objetiva de parada: o resultado deve manter a base “espresso” no primeiro dia e continuar com reflexo visível após 2 a 3 lavagens. Se o teste puxar para um marrom muito quente ou muito frio, ajuste o toner e reduza a área iluminada em 20–30% na próxima rodada, em vez de aumentar o clareamento.
Stop conditions: when color correction is needed and the reader should escalate to a professional
A decisão entre espresso single-tone, espresso com highlights (caramel/chocolate) e espresso com contraste deve começar pelo quanto a base precisa parecer “profunda” versus “em movimento”. Single-tone funciona melhor quando o objetivo é uniformidade; caramel/chocolate com lift controlado cria dimensão visível; já o contraste (especialmente em brunettes mais profundos) é para quem quer mais impacto ao redor do rosto e na risca.
O ponto operacional é o “modo de refletir” a luz: o look espresso costuma ser descrito como um brunette dimensional com acabamento de alto brilho (Hair. com by L’Oréal), então a escolha do processo precisa proteger essa refletividade em vez de competir com ela.
Para quem está mais próximo de nível 3–5, a correção mais comum não é “errar a cor”, e sim empurrar o tom para quente demais ou pouco toner após lift, o que reduz a riqueza; isso pede um test strand com a mesma base e tempo de processamento antes do compromisso.
Para transformar espresso em algo mais “caramelo e chocolate” sem perder o efeito de profundidade, as highlights devem aparecer primeiro nos comprimentos e no entorno do rosto, não começando no couro cabeludo.
Quando o cabelo já tem depósito antigo (cor anterior, cobre persistente, ou manchas mais claras no meio do comprimento), a correção costuma exigir estratégia de compensação por seção, não apenas escolher entre essas três variações. Se o resultado prévio no comprimento médio fica 2 níveis ou mais fora do que o restante do cabelo comporta, o profissional deve avaliar redirecionamento de tom e possível correção gradual para evitar um contraste manchado.
Esse tipo de necessidade é um limite prático: se não for possível prever o balanceamento de subtom e intensidade com um teste consistente, a melhor próxima ação é levar fotos em luz natural e pedir uma correção planejada em etapas, não uma troca única de cor.
Frequently Asked Questions
Can espresso hair color work on naturally red or auburn hair without turning brassy?
It depends on the undertone match and how much lift the color process requires. If the hair already has warm red pigment, a brown that leans too warm can intensify copper tones, so the salon may need a cooler espresso base and a gloss/toner step to keep reflectivity without going orange. A patch or strand test is the most reliable way to confirm the final tone in your specific hair.
How do I maintain the shine of an espresso brunette after I leave the salon?
It depends on how often the hair gets washed and what products are used, because espresso-style results rely on a reflective finish. Using a sulfate-free, color-safe shampoo and limiting heat (especially high-heat blow-drying) helps prevent the tone from dulling faster. Plan on refresh glosses when your color starts to look flatter under indoor lighting, since gloss fades before the depth fully disappears.
Is espresso hair color a good choice if my goal is gray coverage?
It depends on the amount and pattern of gray, plus the shade depth chosen. Very resistant gray can require a more targeted approach, and choosing an espresso tone that’s too dark may hide gray coverage unevenly by making the regrowth contrast more obvious. The safest route is to confirm coverage expectations during the consult and ask what follow-up schedule (and possible toner adjustments) is realistic.
What’s the difference between espresso hair color and a “basic” dark brown if I want it to look expensive?
It depends on two levers: depth placement and shine level. Basic dark brown often looks flat because the formula and application don’t create enough contrast within the hair strand, while espresso aims for black-and-dark-brown depth plus a more reflective finish that catches light. If the result looks smoky or lifeless after the first wash, it usually means tone or gloss needs adjustment rather than simply “going darker.”